How To Do Online Music Lessons
March 7, 2022
In 2020, many activities were forced online – music lessons being one of them. But it turns out that online music lessons work well for both teachers and students, and they are here to stay. Research shows that 39% of learners made better progress online, than had they been taking classes in person.
The benefits of online music lessons are clear. Whether you’re a music teacher looking to venture into this area or are interested in enhancing your current online lessons, read on to learn how to do online music lessons.
A guide on how to do online music lessons
We’ll tell you everything you need to know to get started with online music lessons. Complete these six simple steps, and you’re set for success!
- Choose your hardware
- Decide on a video calling app
- Pick a setting
- Get familiar with copyright guidance for teaching music online
- Set up an online booking system
- Send lesson reminders to your students

1. Choose your hardware
For online music lessons to be a success, you need to get the hardware right. Students expect their online experience to be on par with a face-to-face lesson, so poor sound, temperamental internet connection and a small screen won’t cut it.
Smartphones have advanced a great deal, but their sound and picture cannot compare to the superior quality you get with a laptop or PC. The smaller screen size of a mobile means it’s hard for you to monitor students’ technique whilst they play – you may miss out on important moments, which affects your teaching quality.
Internet connection is also a major factor. You don’t want to be thrown out of your virtual lesson due to a bad connection. The constant stopping and starting as you try to reconnect doesn’t give students the best value for money – they have come to learn, not to sit waiting for you to pop back onto their screen. To combat this issue, opt for a desktop or laptop. This gives you the option to use an ethernet cable which offers a more secure connection than WiFi. Students are likely joining your music lessons on their phone’s WiFi. If you can offer a stable connection from your end, this should improve the experience for both parties. The threat of losing connection will no longer have to loom over your lesson!
Although you may feel uneasy about splurging your cash on a new laptop, it will add value to your offering, and you’ll see a return on investment in no time. Cutting corners will lead to a below-par experience, and you risk losing students to more tech-savvy teachers.
2. Decide on a video calling app
Now that you’ve invested in the right hardware, you don’t want to be let down by an unstable video calling app. Reliability, ease of use, sound and picture quality are the main things that you need from the app.
Some apps offer premium features, but the free versions often do the job for the functions you’ll need to use. We’d recommend that you create an account with a couple of apps just in case your first choice glitches.
Our top picks are Zoom and Skype – these brands are so popular that you’ve probably got an account set up with them already. Both offer good sound and picture, and Skype allows you to send files on the call, which can be handy when it comes to sharing scores and links.
Features of Zoom that benefit online music lessons
Although Skype has been a firm favourite amongst music teachers for a while, there are a few features of Zoom that edge it for us.
Share your screen
In the majority of music lessons, you and your student will be reading off a score. Of course, you can both follow your own copy of the sheet music, but it can be hard to stay in sync with this method.
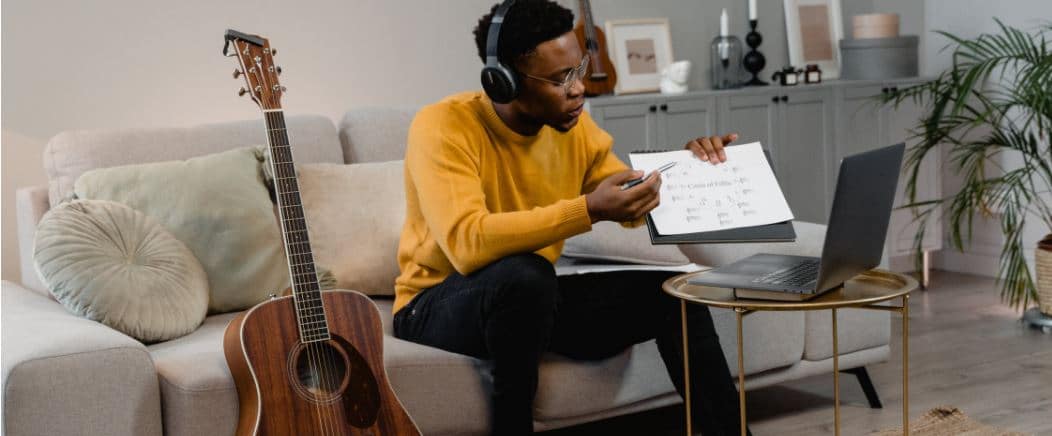
Zoom’s screen sharing function ensures that you’re both on the same page. Everything you see, your student can see. You can open the score in a program to annotate it as well as highlight sections with your cursor. Just keep in mind that you may want to zoom in on the score if your student is watching from a small screen.
Record the online music lesson
During a music lesson, there is a lot of feedback for students to take on. Sometimes, they can forget a detail, meaning you may have to repeat the same advice for a few weeks. As a result, students may make slower progress than they would like. But no one is at fault – the same scenario would happen in a face-to-face class.
With Zoom, you can record the online music lesson and send it to your student after the session. Having the option to replay a class will help students digest any advice. It also provides a good record for both parties to observe the improvement in a students’ ability over time.
Use multiple cameras
Teaching with particular instruments can benefit from multiple camera angles. For example, it’s handy to provide an overhead view of piano keys and a side view so students can see your full body actions.
Zoom allows you to set up multiple cameras and all you have to do is choose the camera you want from the video icon. Providing different camera angles is more beneficial than you may first realise. The main takeaway is that it allows you to give students the clearest picture possible.
There are many different video calling apps out there. You may also want to check out Microsoft Teams, Google Hangouts and Viber.

3. Pick a setting
When you host online music lessons, the lighting can make or break the experience. Too dark, and it will be tricky for students to follow your demonstrations. Too light, and you’ll have harsh highlights and shadows.
The main problems arise from strong backlighting. You may have a sunny window or bright lamp behind you, causing the camera to adjust for that light source. Consequently, your face will be dark and unclear.
To overcome this, you should find a large, soft lighting source. A large window with transparent white curtains is a good option. Alternatively, you can put a soft lamp next to your screen to light up your face. Take some time to find the best setup. You need to find lighting that will make you appear clear and sharp, so it’s easy for students to follow your every step.
Try to have a minimal background if you can. Too many objects in the background may cause the camera to shift in and out of focus – they are an unwelcome distraction. If you’ve got the space to create a studio with a single blank wall to sit against, that’s great. If not, don’t worry. As long as the background isn’t too busy, you should be in the clear.
4. Get familiar with copyright guidance for teaching music online
As a music teacher, you may already be familiar with the copyright guidance for educational purposes. To summarise, music must only be played for teaching purposes and to a limited audience – this will be your student.
5. Set up an online booking system
At this point, you’re almost ready to begin your online music lessons. But one thing is missing. An online booking system.
As a music teacher, you will likely have a large client base. This client base can be tricky to keep track of as different students have ranging needs. For example, some students may prefer 2-hour lessons once a fortnight, with others opting for hourly lessons twice a week. As your diary fills up and your business grows, lesson bookings will be tough to manage without a helping hand.
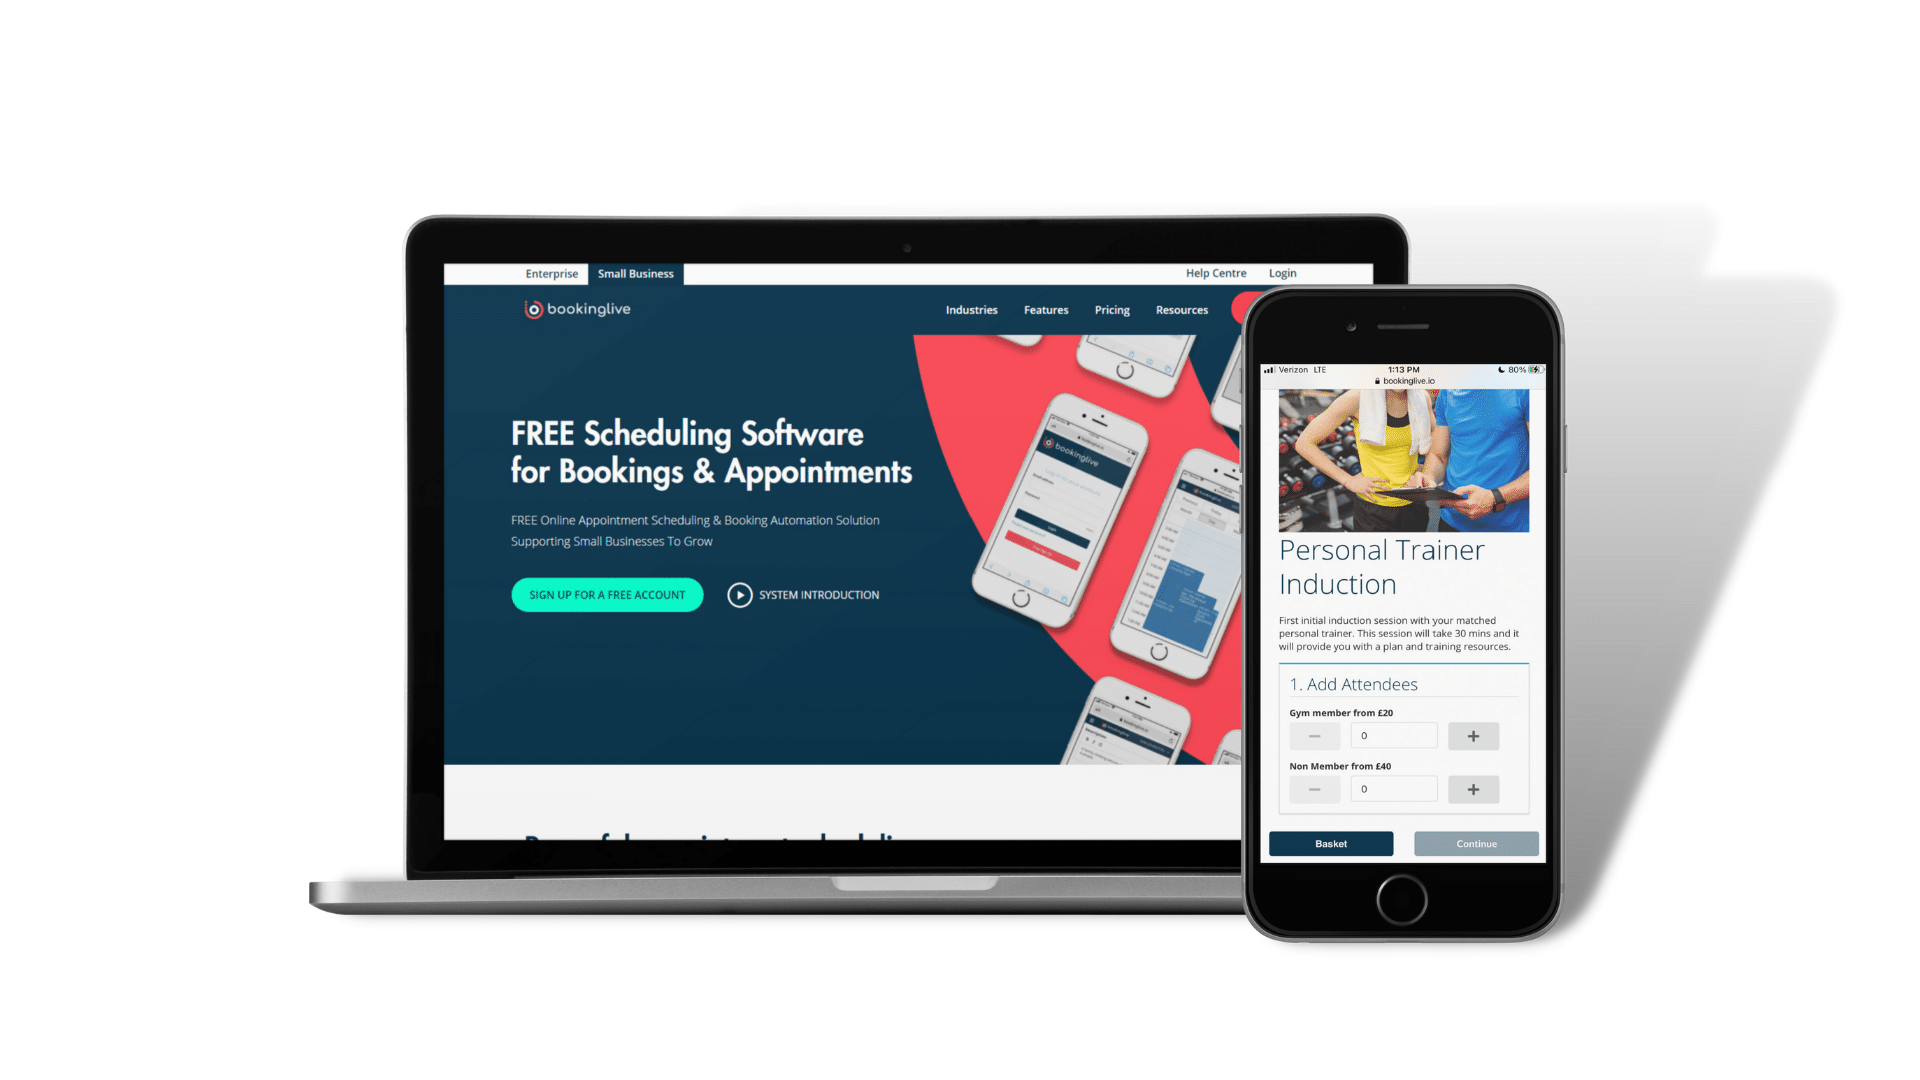
With a class booking system, simply embed a booking widget on your website, social media page or share the booking link directly to your students. Following this, they can browse your music lesson availability and sign up for a slot that suits them. Appointments will update in real-time, so you can avoid double bookings whilst selling as many lessons as possible. It’s easy for students to pay in advance via the software using popular platforms such as Stripe and PayPal.
The features don’t end there. The scheduling app has a wealth of integrations, including Zoom, so students can join your online music lesson straight from their booking confirmation. Another benefit is that the booking software can generate reports, giving you valuable insights into popular booking patterns. This information can help you enhance your offering and generate more sales.
6. Send lesson reminders to your students
The final step to doing online music lessons the right way is to send lesson reminders to your students. There’s nothing more disheartening than no-shows. It wastes valuable time that could have been spent developing another student’s skills. Sometimes, these slip ups happen, but an online booking system does a good job of minimising these situations.
BookingLive can send automated email and SMS notifications to your students in advance of their music lesson. This gentle reminder is proven to reduce no-shows – result!

Advantages of online music lessons
The perks of opting for online music lessons over in-person lessons mainly relate to convenience and improved quality of learning. Here are some of the advantages of online music lessons.
No geographical limits
Online music lessons allow you to teach globally if you really wish. With no geographical limits, you can expand further than your local town and get more clients on your books.
No commuting
The commute from student to student is one of the major disadvantages of teaching in person. If students travel to you, this can also be a burden to them and to parents. Eliminating the commute frees up more time, allowing you to offer more lessons, and generate more revenue.
More focused
When meeting in person, it’s easy to get distracted and general chit chat can eat away at the allotted lesson time. With online music lessons, individuals are more focused and will get more out of their appointment.
Students can practice immediately
As soon as the video call ends, students can carry on practising what they have just learnt whilst teacher feedback is still fresh. After an in-person lesson, students have to wait for the drive home before they can pick up their instrument again.
Teach online music lessons with the help of BookingLive
After reading our guide on how to do online music lessons, we hope you feel ready to take on your first booking. BookingLive’s online booking system has transformed many businesses that offer courses and classes. Read our case studies to see for yourself.
If you’d like to learn more about how BookingLive’s scheduling system can help you, contact us via email at sales@bookinglive.com or call 0800 1310 342. Our experienced team is happy to answer any questions and provide you with a demo, so you can see the software in action.
